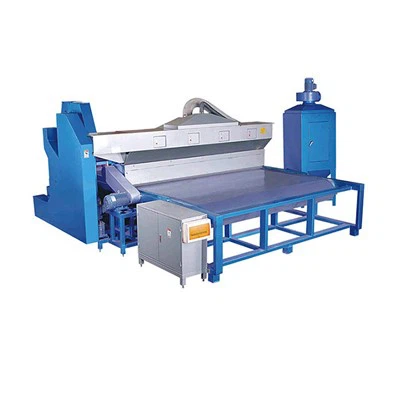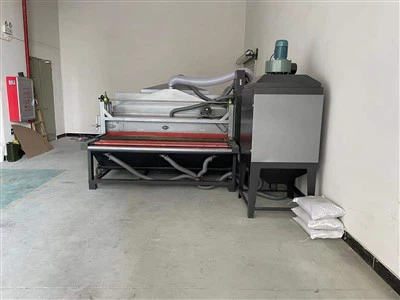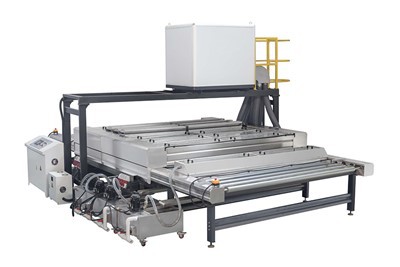
Hey there! As a supplier of Glass Sand Blasting Machines, I've had my fair share of customers asking about how to adjust the sandblasting density on glass. It's a crucial aspect, especially if you're looking to achieve that perfect finish on your glass projects. So, in this blog, I'm gonna walk you through the ins and outs of adjusting sandblasting density using our top - notch machines.
First things first, let's understand what sandblasting density means. Sandblasting density refers to how closely packed the sand particles are when they hit the glass surface. A higher density will result in a more intense and uniform etching, while a lower density will give a more subtle and lighter effect.
Factors Affecting Sandblasting Density
1. Air Pressure
Air pressure is one of the most significant factors that influence sandblasting density. When you increase the air pressure in your Glass Sand Blasting Machine, the sand particles are propelled at a higher speed towards the glass. This causes more sand to hit the surface in a given area, increasing the density.
For example, if you're using a low air pressure, say around 20 - 30 PSI (pounds per square inch), the sand particles will move relatively slowly. They'll spread out more as they travel towards the glass, resulting in a lower density of sand hitting the surface. On the other hand, if you crank up the air pressure to 60 - 80 PSI, the sand will be forced out in a more concentrated stream, leading to a higher density.
To adjust the air pressure on our machines, it's pretty straightforward. There's a pressure gauge and a regulator on the machine. Just turn the regulator knob clockwise to increase the pressure and counter - clockwise to decrease it. Keep an eye on the pressure gauge to make sure you're within the recommended range for the type of glass and sand you're using.
2. Nozzle Size
The size of the nozzle on your sandblasting machine also plays a big role in determining the sandblasting density. A smaller nozzle will focus the sand particles into a narrower stream. This means that in a given area of the glass, more sand particles will be concentrated, increasing the density.
Let's say you have a 3 - millimeter nozzle. The sand will come out in a tight, concentrated beam, hitting a small area of the glass with a high density. In contrast, a 6 - millimeter nozzle will disperse the sand over a wider area, reducing the density of sand hitting any one point on the glass.
When choosing a nozzle size, consider the effect you want to achieve. If you're going for a detailed, high - density etching, a smaller nozzle is your best bet. But if you need a more general, lighter sandblasting effect, a larger nozzle will do the trick. Our machines come with a variety of nozzle sizes, so you can easily swap them out depending on your project.
3. Sand Type and Grit Size
The type of sand and its grit size are also important factors. Different types of sand have different properties, such as hardness and shape. For instance, silicon carbide sand is harder than aluminum oxide sand. Harder sand particles can create a more intense etching effect at the same pressure and density.
Grit size refers to how coarse or fine the sand particles are. A smaller grit size, like 80 - 100 grit, means the sand particles are finer. These fine particles can create a smoother, more uniform sandblasting density. Larger grit sizes, such as 20 - 40 grit, will give a more aggressive and less uniform density.
If you want a high - density, smooth finish, go for a finer grit sand. But if you're looking for a more textured, rustic look, a coarser grit will be more suitable. You can experiment with different sand types and grit sizes to find the combination that gives you the perfect sandblasting density for your project.
Step - by - Step Guide to Adjusting Sandblasting Density
Step 1: Prepare Your Machine
Before you start adjusting the sandblasting density, make sure your Glass Sand Blasting Machine is properly set up. Check that there's enough sand in the hopper, and all the connections are secure. Also, put on your safety gear, including goggles and a dust mask.
Step 2: Set the Initial Parameters
Based on the effect you want to achieve, set the initial air pressure, nozzle size, and choose the appropriate sand type and grit size. As a starting point, if you're new to sandblasting, you can set the air pressure to around 40 - 50 PSI, use a 4 - millimeter nozzle, and start with a 60 - 80 grit sand.
Step 3: Test on a Scrap Piece of Glass
It's always a good idea to test the sandblasting density on a scrap piece of glass before working on your actual project. This way, you can make any necessary adjustments without ruining your final piece.
Place the scrap glass in the sandblasting cabinet and start the machine. Move the nozzle across the glass in a slow, steady motion. After sandblasting a small area, take a look at the glass. If the density is too low, increase the air pressure or switch to a smaller nozzle. If it's too high, decrease the air pressure or use a larger nozzle.
Step 4: Make Adjustments
Based on the results of your test, make the necessary adjustments to the air pressure, nozzle size, or sand type. Keep testing on the scrap glass until you achieve the desired sandblasting density.
Step 5: Start Your Project
Once you're satisfied with the sandblasting density on the scrap glass, you're ready to start working on your actual project. Just follow the same technique as you did on the scrap glass, moving the nozzle smoothly and evenly across the glass surface.
Tips for Consistent Sandblasting Density
- Keep a Consistent Distance: Make sure to keep the nozzle at a consistent distance from the glass surface. A varying distance can lead to an inconsistent sandblasting density. Aim to keep the nozzle about 4 - 6 inches away from the glass.
- Use a Steady Hand: When moving the nozzle across the glass, use a steady, even motion. Jerky movements can cause uneven sandblasting density. You can practice on the scrap glass to get a feel for the right motion.
- Maintain the Machine: Regularly clean and maintain your Glass Sand Blasting Machine. A dirty or malfunctioning machine can affect the sandblasting density. Check the hoses for blockages and make sure the sand hopper is clean.
Conclusion
Adjusting the sandblasting density on glass with a glass sandblasting machine is all about understanding the factors that influence it and making the right adjustments. By controlling the air pressure, nozzle size, and choosing the right sand type and grit size, you can achieve the perfect sandblasting effect for your projects.


If you're in the market for a high - quality Sand Blaster for Glass Etching or a Grit Blasting Machine, look no further. Our machines are designed to give you precise control over the sandblasting process, allowing you to create amazing glass projects. Whether you're a professional glass artist or a DIY enthusiast, our machines are the perfect choice.
If you have any questions or want to discuss your specific needs, don't hesitate to reach out. We're here to help you make the most of your sandblasting projects.
References
- Glass Sandblasting Techniques Handbook
- Sandblasting Equipment Manufacturer's Manuals